NATURE PHOTOGRAPHY BASICS
First steps in nature photography: light, composition and focus in a nutshell – and how to move in nature and keep your camera in shape in Finnish weather.
1. THE GOLDEN HOUR
The best photos are taken when the sun is low (an hour after sunrise or before sunset). The light is soft, the shadows long and the tones warm. Tip: Watch the camera's histogram so that the bright sky doesn't blow out.
In Finland the golden hour varies enormously with the seasons: in summer it can last all night, in winter the sun stays low all day. In the forest and for close-ups the best light is often on a cloudy day, when the shadows aren't harsh. Read more in the guide Using natural light.
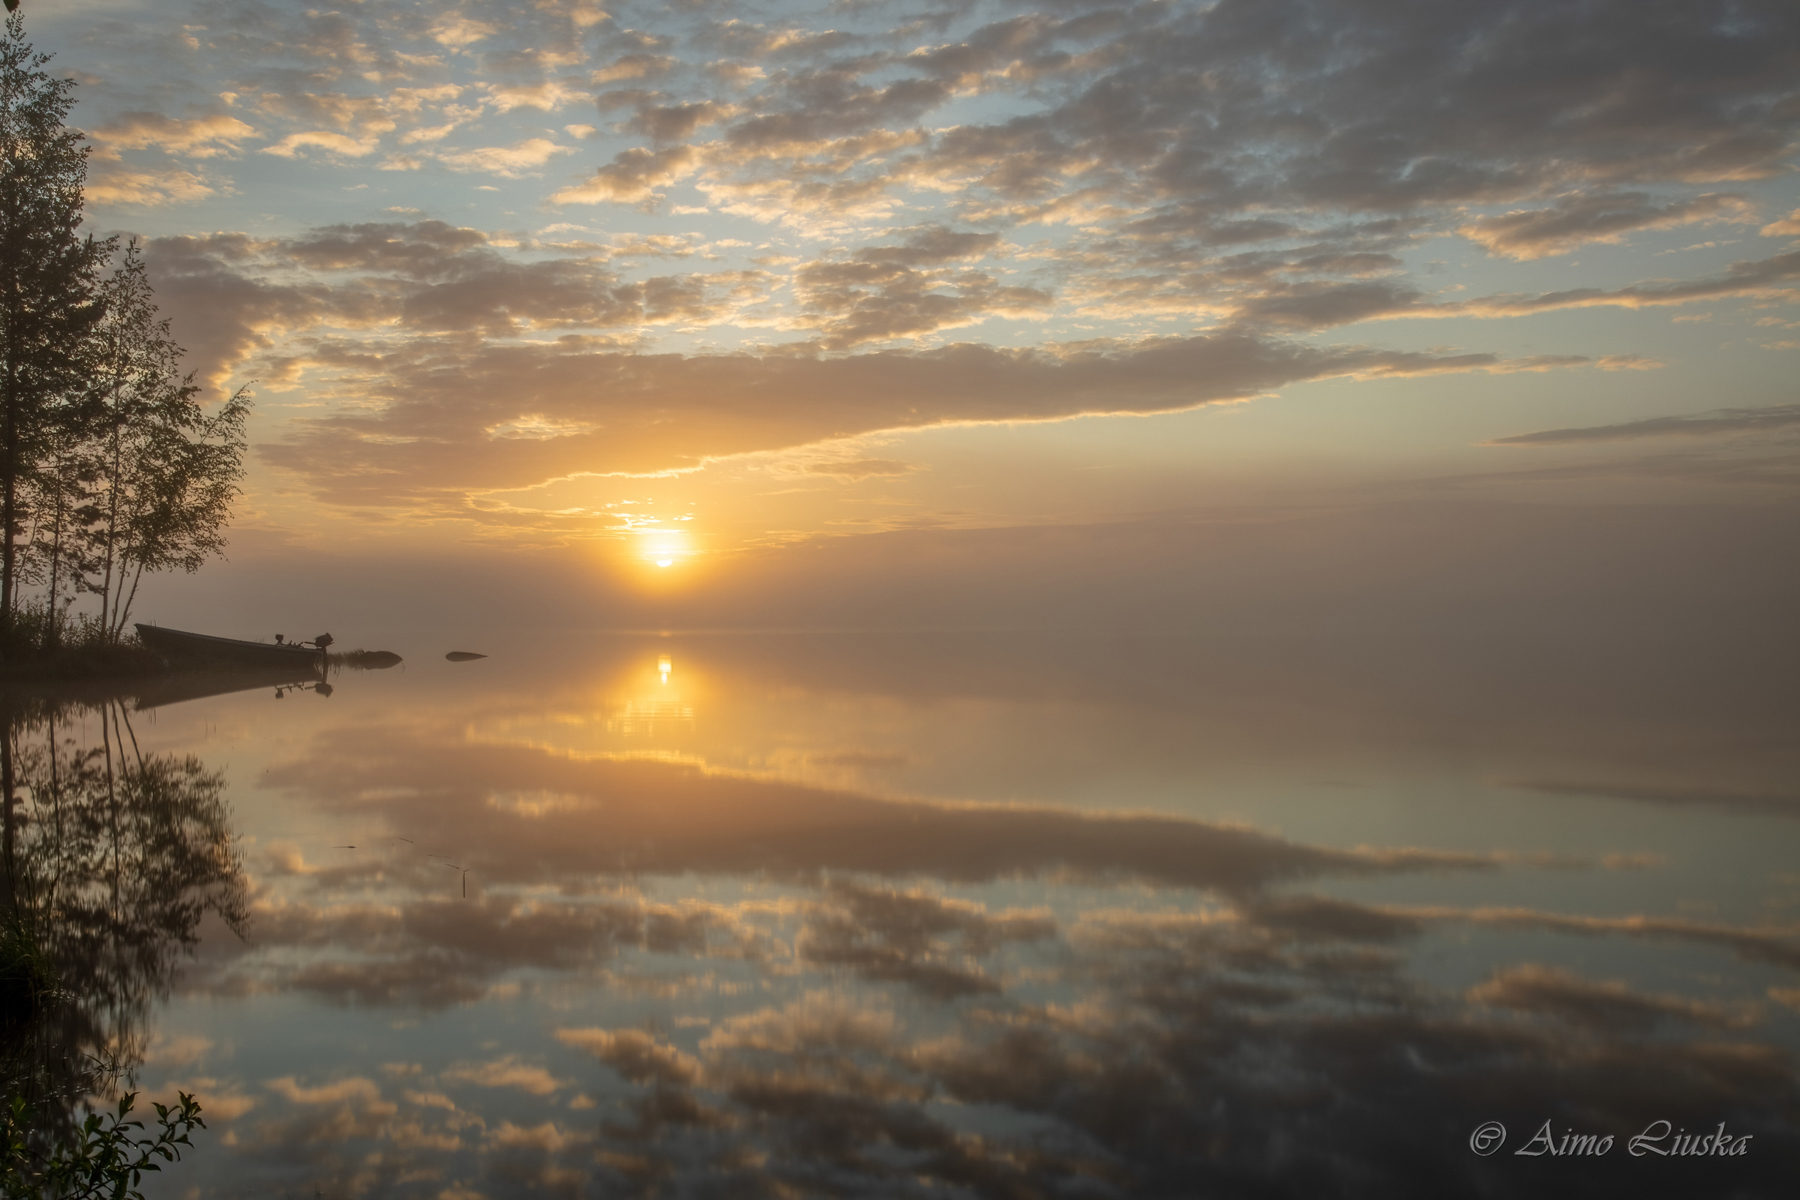
2. A FOREGROUND ADDS DEPTH
With a wide angle a landscape can look flat. Find something interesting close to you – a rock, a stump, a water plant or an autumn leaf – and place it at the bottom of the frame. It leads the viewer's eye deep into the photo.
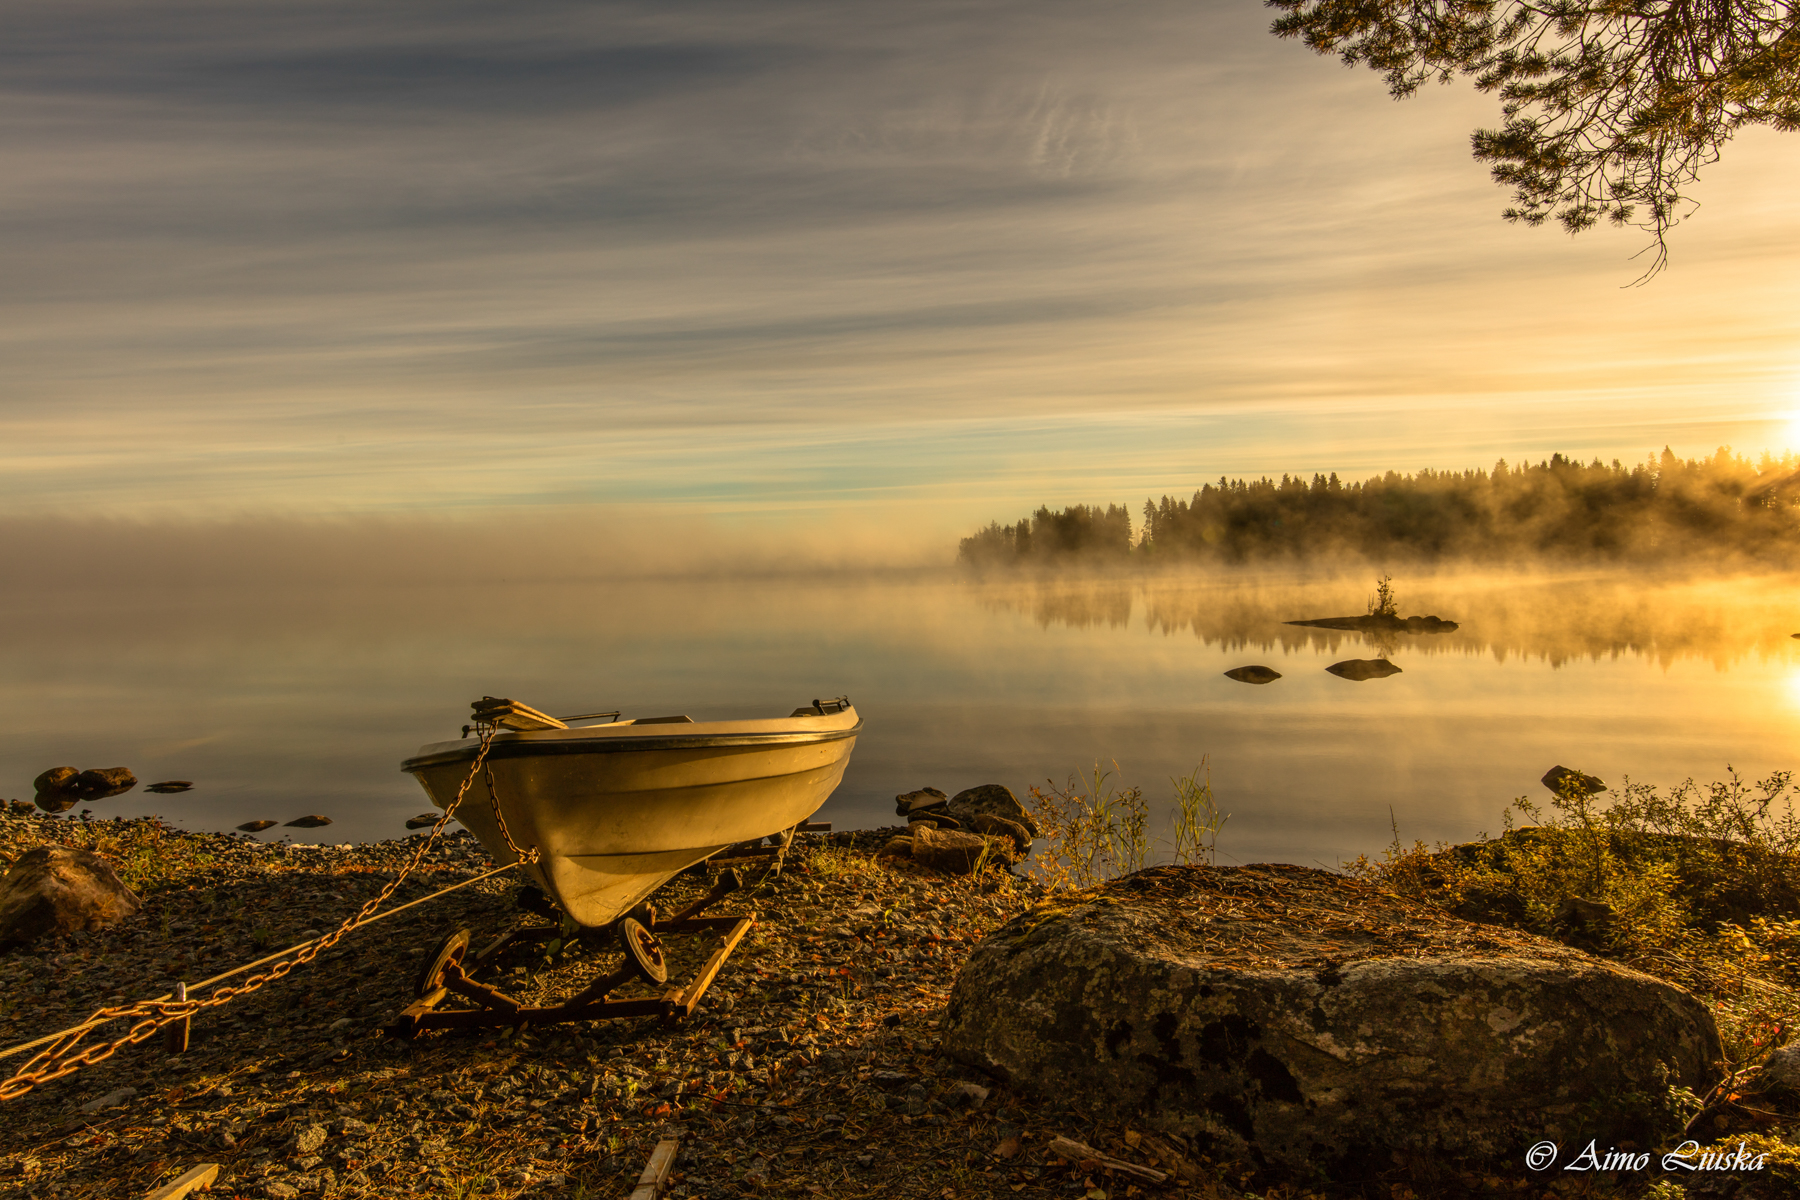
3. THE RULE OF THIRDS
Don't place the main subject or the horizon right in the middle of the photo. Divide the frame into three parts in your mind. Put the horizon either on the lower line (if the sky is stunning) or on the upper line (if the foreground plays the lead). This gives a more dynamic result.
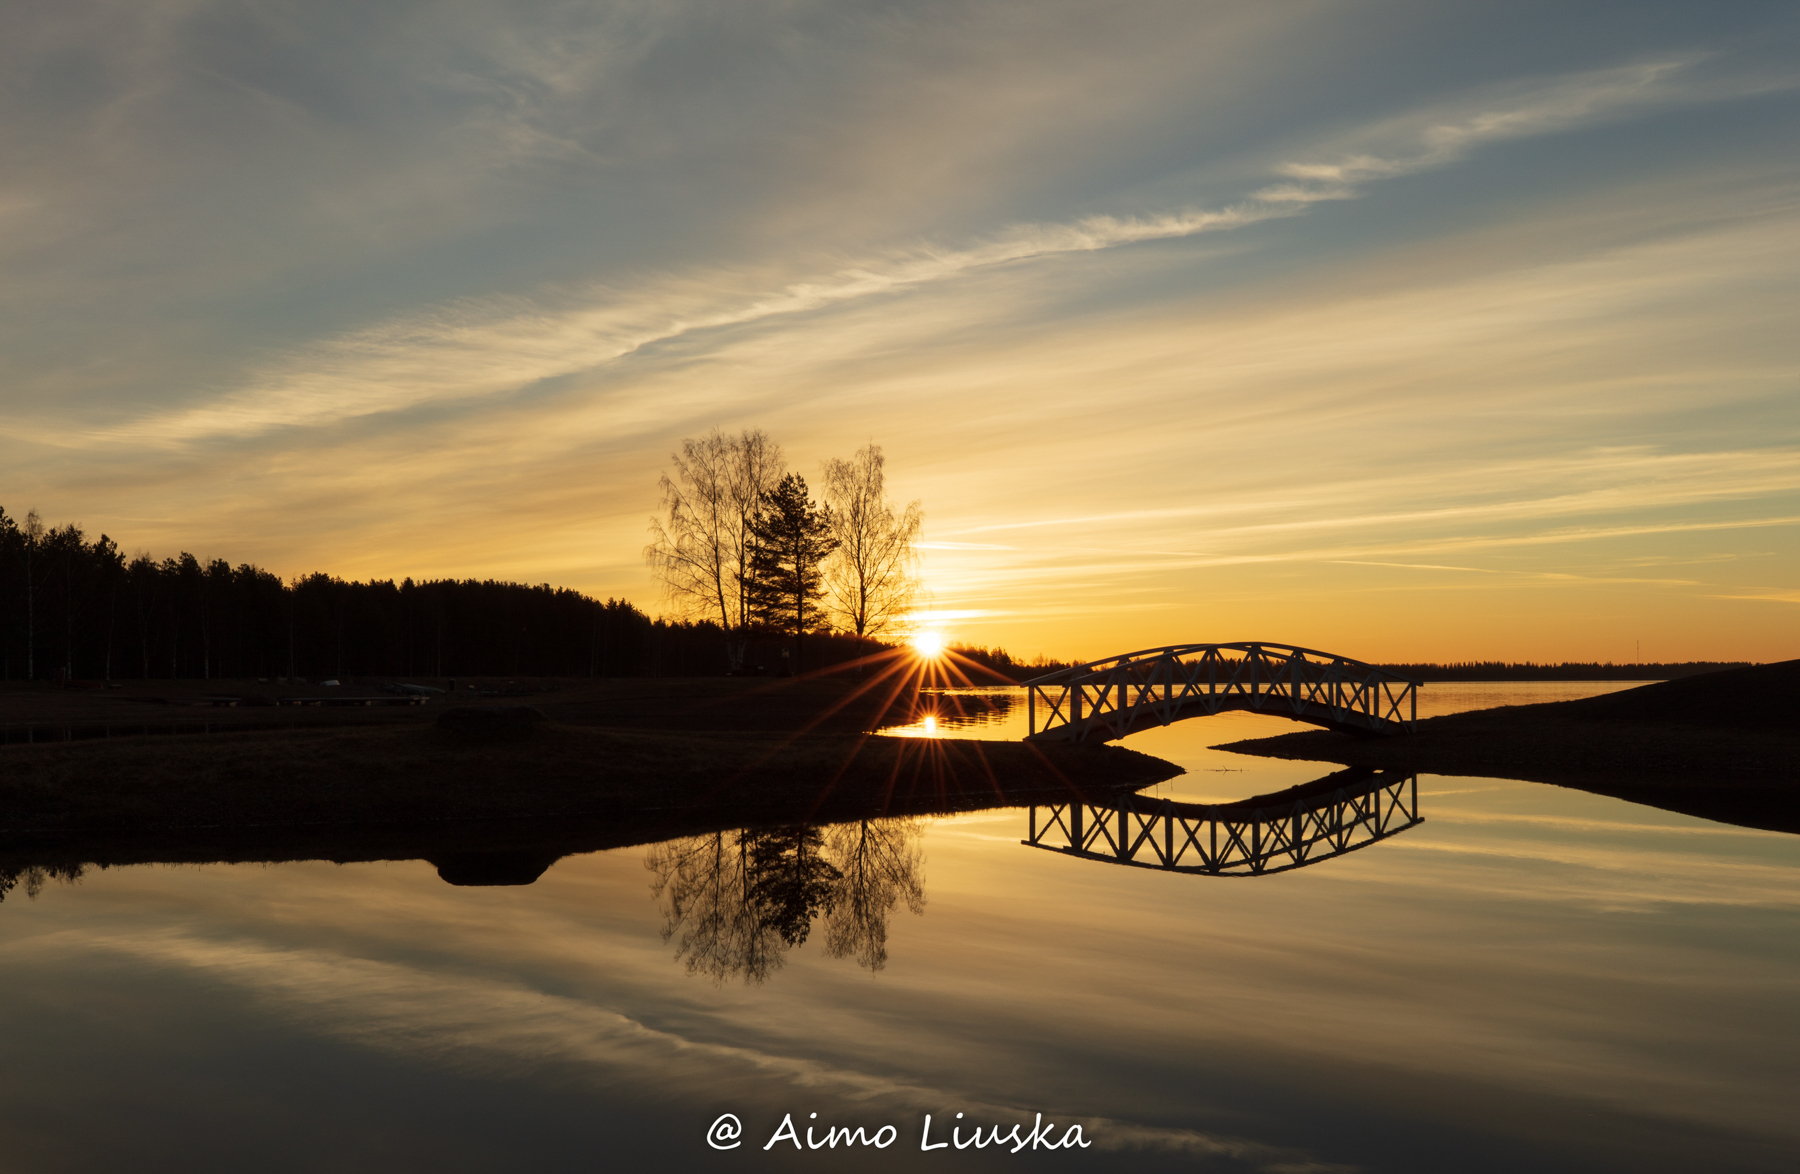
An exception: on a calm lake a mirror reflection can also work with the horizon in the middle, making the photo symmetrical. Composition and landscapes are covered in more depth in the guides Composition basics and Landscape photography.
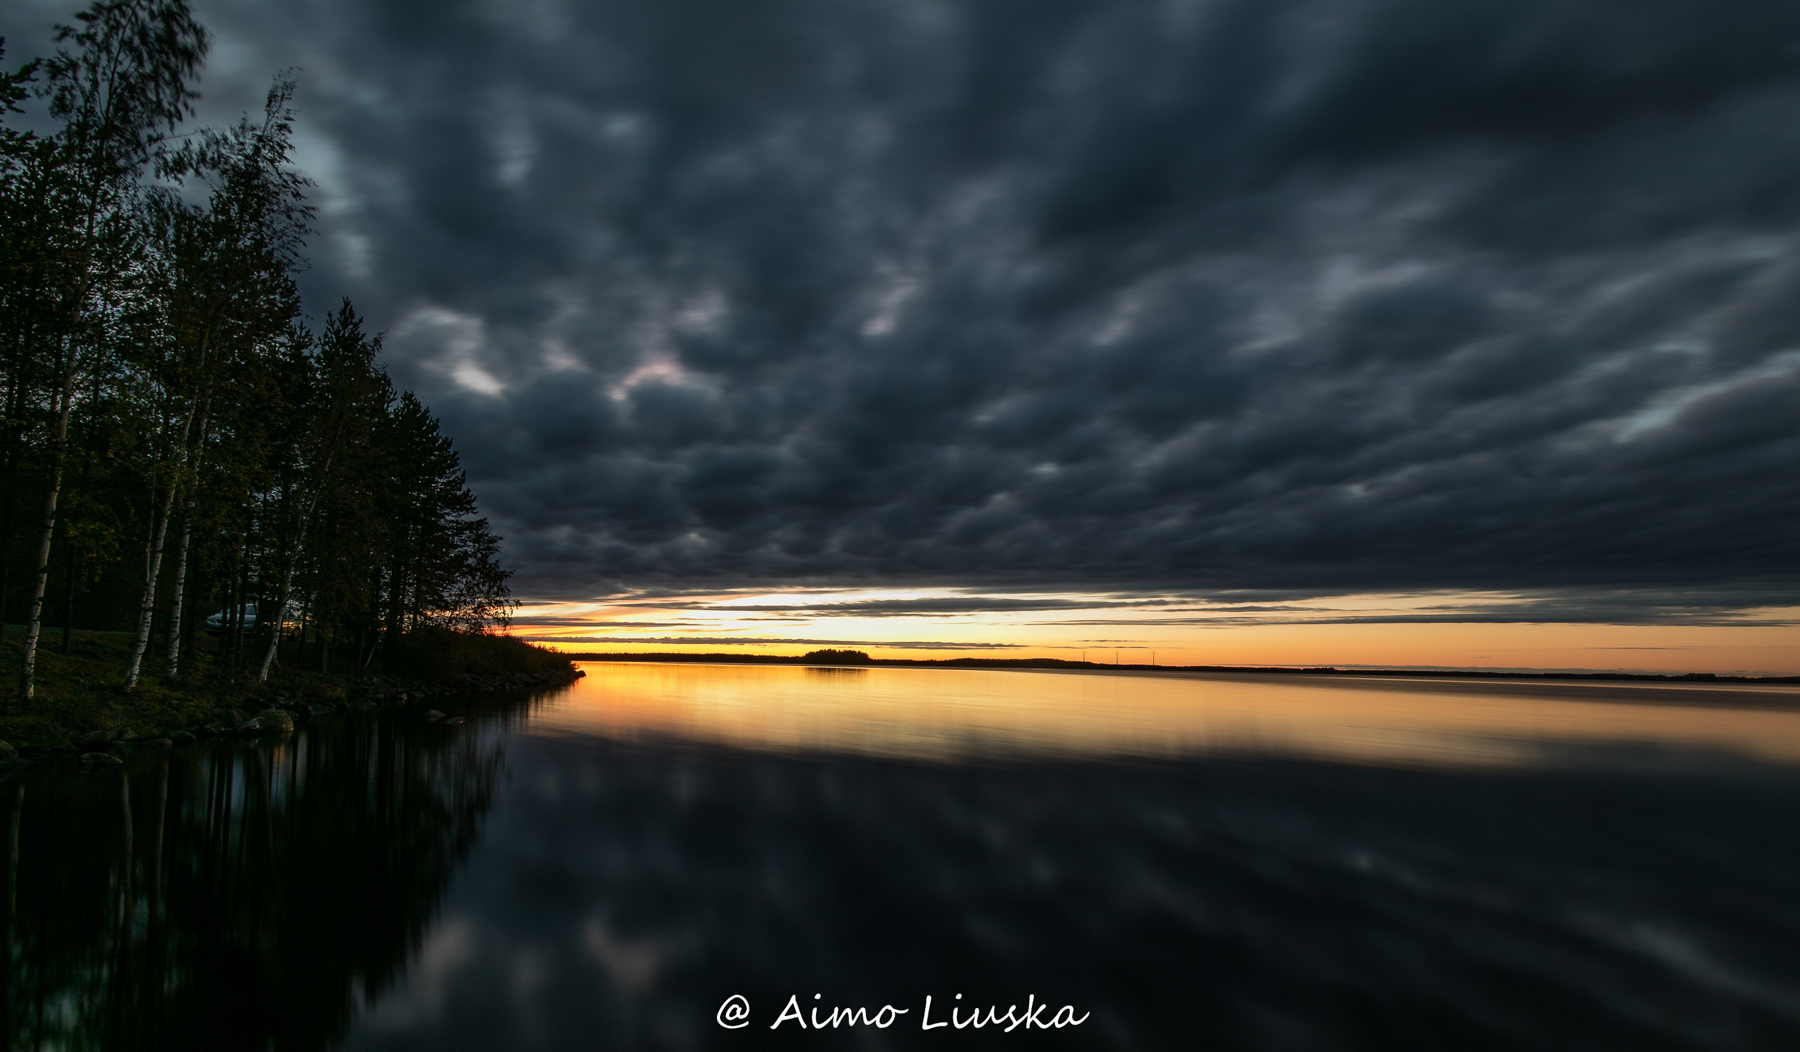
4. CHANGE YOUR PERSPECTIVE
Most photos are taken standing at eye level. Stand out from the crowd and get down to the level of the tussock, the moss or the ice. Shot from ground level, even small plants and details look majestic and the background separates more beautifully from the subject.
5. FOCUS ON THE EYE
When you photograph a living animal or bird, always make sure the focus point is on its eye. The eyes create an immediate psychological connection with the viewer.
- A visual connection: The eyes are the focal point of the photo. Even if the animal's body is slightly soft, a sharp eye saves the photo.
- Shallow depth of field: If you shoot with a fast lens (e.g. f/2.8 or f/4), the sharp area is only centimetres deep. Use the camera's animal eye detection (Animal Eye AF) if possible.
- A professional touch: In nature photography competitions and publications, a perfectly sharp eye is the first criterion that separates a masterpiece from a quick snapshot.
Photographing birds and animals is covered in more detail in the guides Bird photography and Focus modes.
6. EVERYMAN'S RIGHTS AND A PHOTOGRAPHER'S MANNERS
In Finland everyman's rights give photographers a lot of freedom, but they also come with responsibility:
- You may: move on foot, on skis and by bike in nature, also on someone else's land, and take photos freely. You may also pick berries, mushrooms and flowers (not protected plants).
- You may not: walk through gardens, fields or plantations, light a fire without the landowner's permission, or disturb nesting birds or game.
- Protected areas: National parks and nature reserves may have access restrictions and marked trails. Check the rules on the luontoon.fi service.
- Leave the place as it was: Don't break branches or move plants in the hope of a better photo, and take your rubbish with you.