THE SECRETS OF BIRD PHOTOGRAPHY
Learn to understand bird behaviour, choose the right camera settings and capture fast moments sharply.
1. WHAT GEAR DO YOU NEED?
Birds are small, shy and move fast. Getting a good photo requires a lens with enough reach:
- Telephoto lens (300 mm – 600 mm): The cornerstone of bird photography. The longer the focal length, the closer you can get to a shy subject without disturbing it.
- Fast aperture & stabilisation: A wide aperture (e.g. f/4 or f/5.6) allows a faster shutter speed in low light and separates the bird nicely from the background.
2. THE MOST IMPORTANT CAMERA SETTINGS
In bird photography the moment is over in a fraction of a second. Set up your camera before heading out:
3. APPROACHING AND EYE LEVEL
A good bird photo is taken in the bird's own world, not standing at human eye level:
- Get down to eye level: A water or ground bird photographed lying down or from low down looks majestic, and the background melts into soft bokeh.
- Leave space in the direction of gaze or flight: Don't place the bird at the edge so that it looks out of the frame. Leave empty space on the side the bird is heading.
- Move slowly and at an angle: Don't walk straight towards the bird. Move calmly in a zigzag without sudden hand movements.
THE BIRD'S WELLBEING COMES FIRST
A good bird photo must not cost the bird anything. The Finnish Nature Conservation Act prohibits deliberately disturbing protected birds, especially during the breeding season, and almost all birds in Finland are protected.
- Don't photograph nests: A parent bird panicking at the nest may abandon its eggs or chicks, and a photographer's tracks can lead predators to the nest. During the breeding season (spring to July) stay well away from known nests.
- Watch the bird's behaviour: If the bird stops feeding, starts giving alarm calls or tenses up ready to fly, you are too close. Back off – the best photo comes from a calm bird.
- No luring in the breeding season: Playing recorded calls to lure birds stresses them and takes time away from feeding. Feeding birds in winter, on the other hand, is a good way to get close for photos.
- Protect rare species: Don't publish the exact location of rare species, owls or birds of prey. You can publish the photo later and with a more general location.
- Follow the rules of protected areas: Many bird lakes and nature reserves have access restrictions during the breeding season. Check them on the area's information boards or on the luontoon.fi service.
4. EXAMPLE PHOTOS
Examples of different kinds of bird photography – from small birds on a branch to water birds from a low perspective:
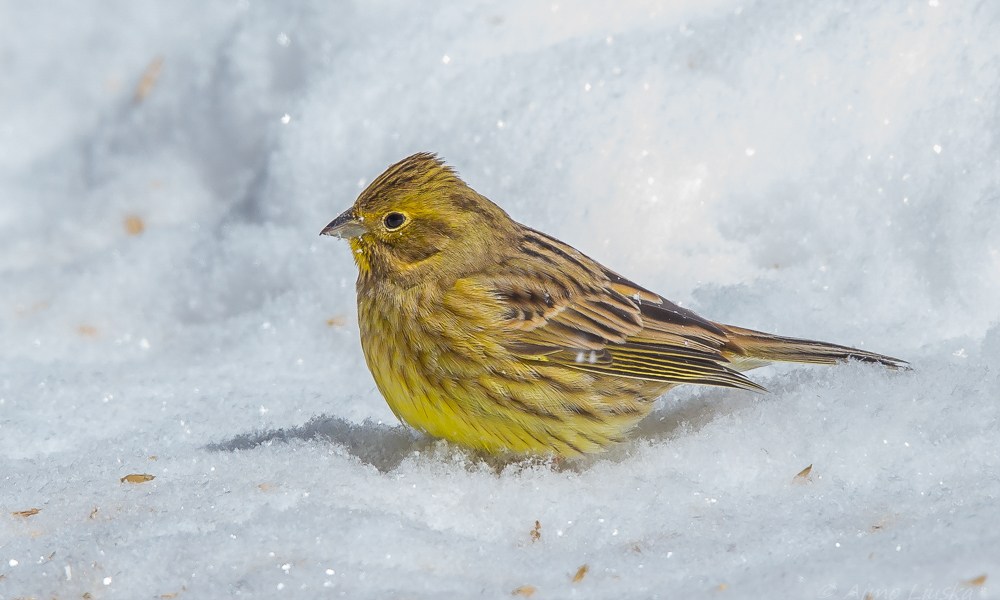
A yellowhammer has come to feed.
500mm • f/5.6 • 1/1250s • ISO 800
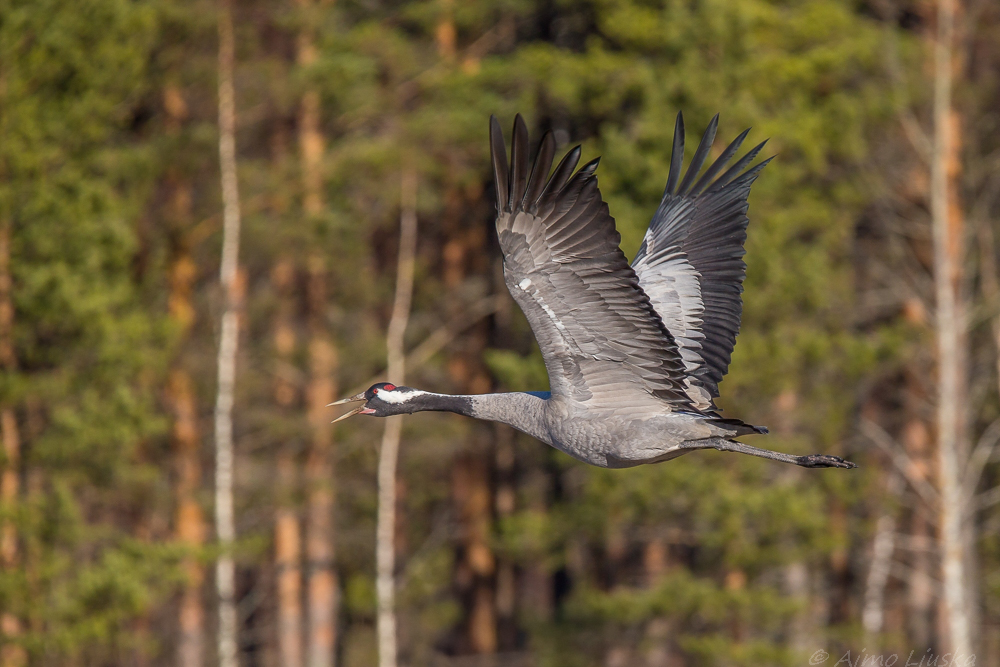
A common crane in flight.
600mm • f/6.3 • 1/2500s • ISO 640
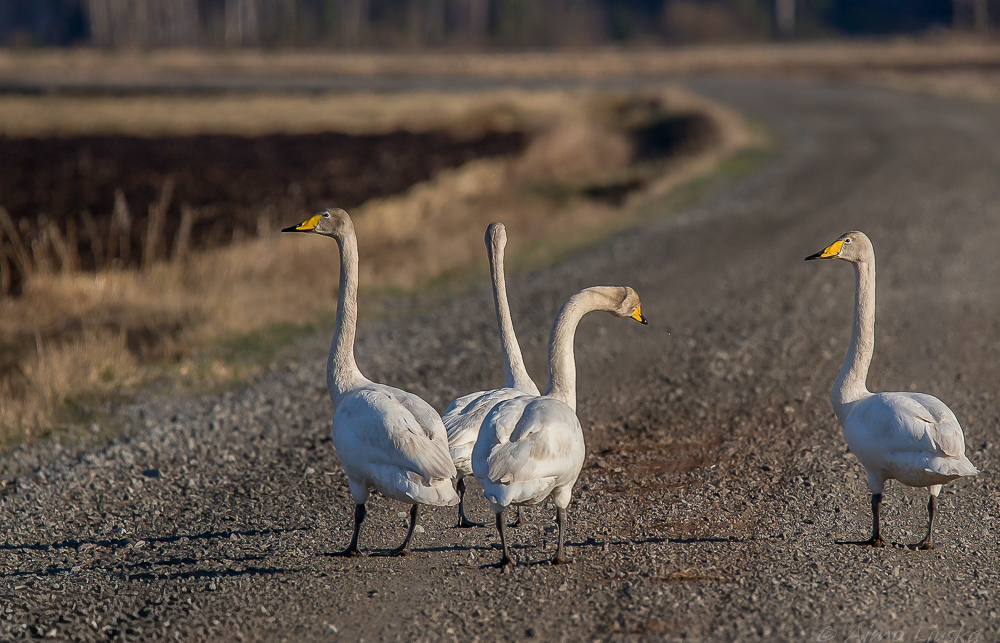
Swans.
400mm • f/4.0 • 1/1600s • ISO 400