GUIDE
ND FILTERS & LONG EXPOSURES
Smoothing flowing water, moving clouds and cutting the light in daylight.
WHAT AN ND FILTER DOES
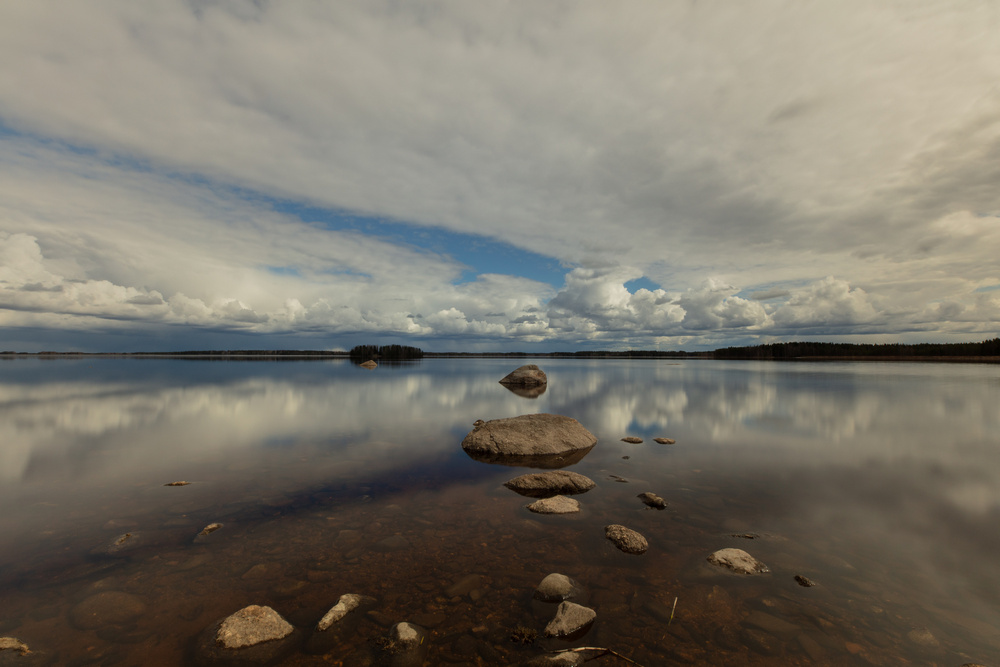
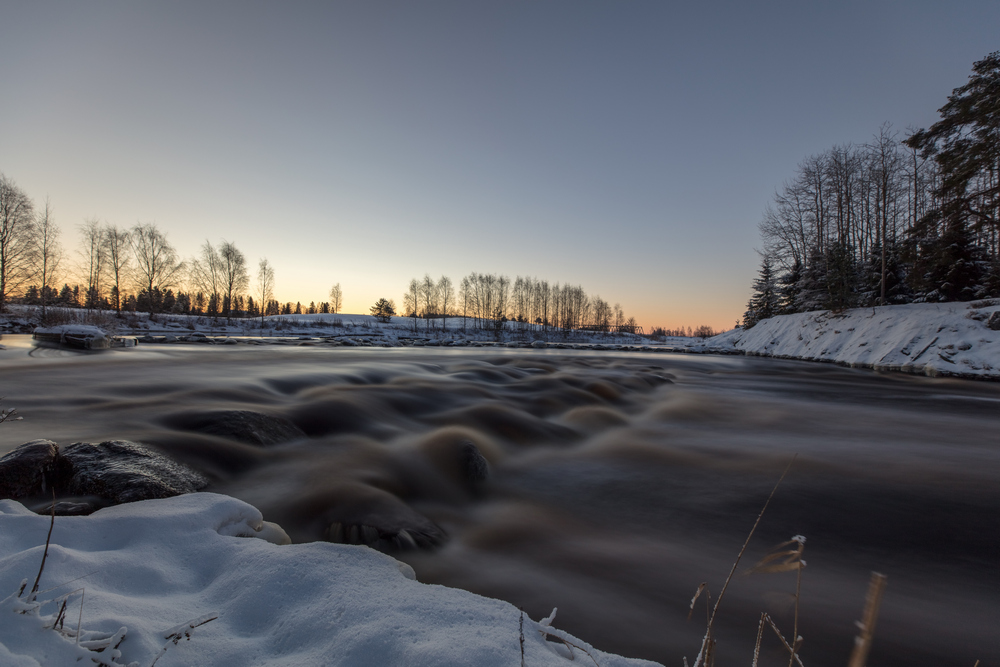
SHORT VS. LONG EXPOSURE
📷 Without an ND filter (1/250 s)
The movement of the water is frozen
The movement of the water is frozen
☁️ With an ND1000 filter (30 s)
The water turns into a silky, soft mist
The water turns into a silky, soft mist
What do you need an ND filter for?
An ND (neutral density) filter works like "sunglasses" for your lens. It reduces the amount of light reaching the sensor without changing the colours. This lets you use exposures of several seconds or even minutes in bright daylight without blowing out the photo.
FILTER TYPES
ND FILTERS AND THEIR STRENGTHS
- ND8 (3 stops): Light darkening. Good for example for portraits in bright light with a wide aperture.
- ND64 (6 stops): Moderate darkening. Ideal for waterfalls in dimmer light or on cloudy days.
- ND1000 (10 stops): A very strong filter. In bright sun the exposure is typically 2–8 seconds, on a cloudy day 15–60 seconds.
- Screw-in vs. square filters: Screw-in filters are handy, but square filters let you stack several filters and use graduated filters.
STEP BY STEP
SHOOTING TECHNIQUE STEP BY STEP
- 1. A sturdy tripod: The camera must stay completely still for the whole exposure.
- 2. Focus first: Focus on the subject and lock the focus in manual (MF) before attaching a dark ND filter.
- 3. Use a remote or the timer: Pressing the shutter button by hand can shake the camera. Use a 2 s delay or a remote release.
- 4. Cover the viewfinder: On DSLRs light can leak through the optical viewfinder onto the sensor during a long exposure. Mirrorless cameras do not have this problem.
- 5. Work out the exposure: Meter the exposure first without the filter and multiply the time by the filter factor. Example: 1/125 s × 1000 (ND1000) ≈ 8 s. When the time goes over 30 seconds, use Bulb mode.
SUMMARY
A PRO CHECKLIST FOR ND PHOTOGRAPHY
1. Turn off image stabilisation
When the camera is on a tripod, image stabilisation (IS/VR/IBIS) can add its own vibration to the photo.
2. Use a calculator app
Use a phone app (e.g. PhotoPills) to work out the right shutter speed for the strength of your ND filter.
3. Watch out for colour casts from cheap filters
Low-quality filters can give the photo a strong magenta or green cast that is hard to correct.