Lightroom for beginners
From import to a finished photo in the right order. Learn the most important adjustments in Lightroom Classic and make your photo clean and natural without over-processing.
How Lightroom works
- The original photo never changes: Lightroom only saves the adjustment instructions in the catalogue. You can experiment freely – everything can always be undone.
- Two main views: Library (G) for browsing and organising photos, Develop (D) for editing them.
- Shoot RAW: A RAW photo has much more room for adjustment than a JPEG, especially in the shadows, the highlights and the white balance.
Editing step by step
The order matters: for example the crop affects how the exposure looks, and sharpening belongs at the end.
In the Library view, Import (Ctrl + Shift + I). Choose Copy so the photos are copied from the card into a dated folder of your choice.
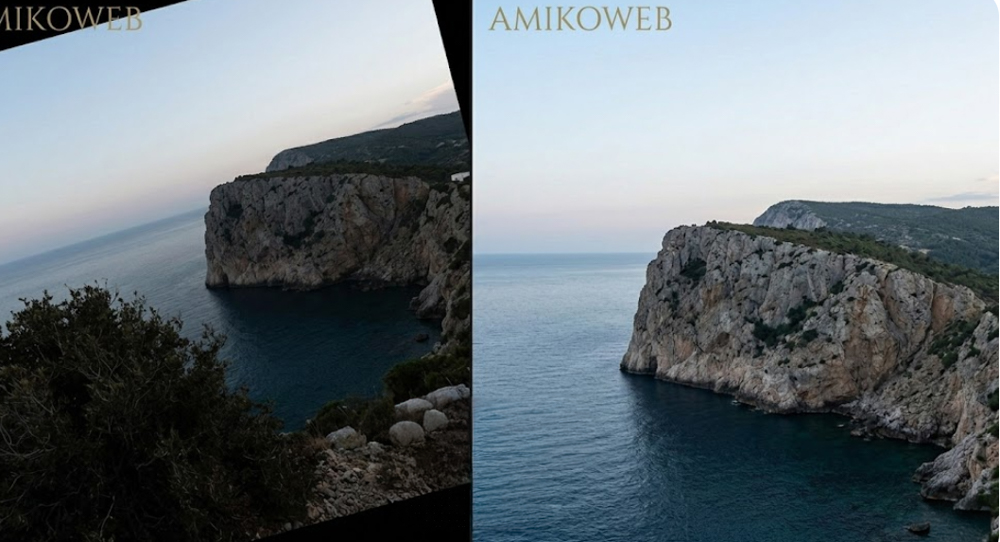
The crop tool (R). Straighten the horizon before any other adjustments.
Get the basics right: distortion gone, the right profile and natural colours.
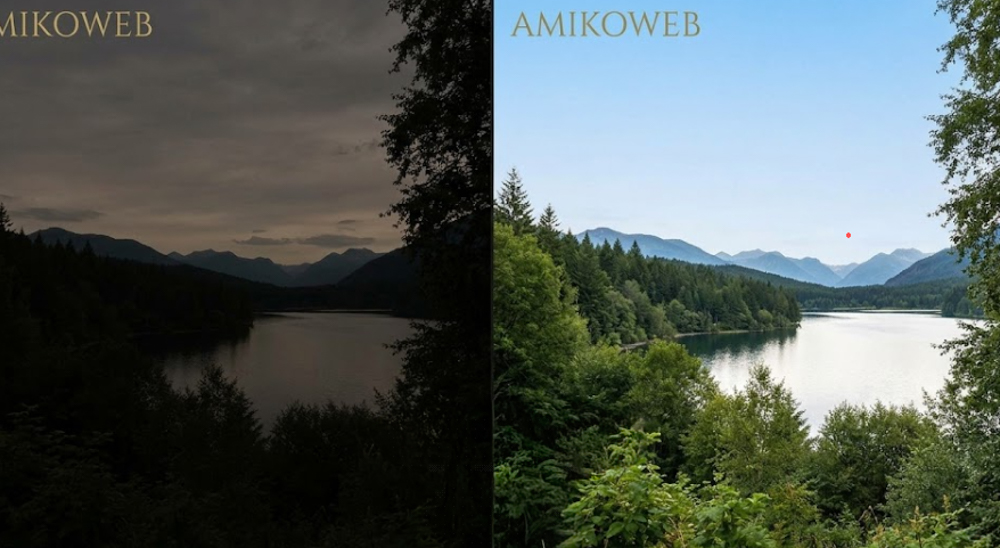
Exposure, Highlights, Shadows, Whites and Blacks.
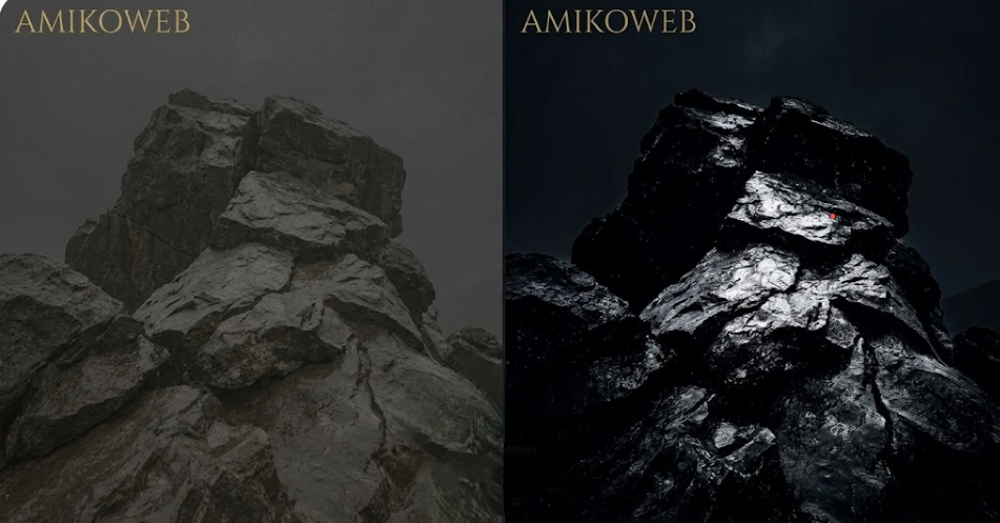
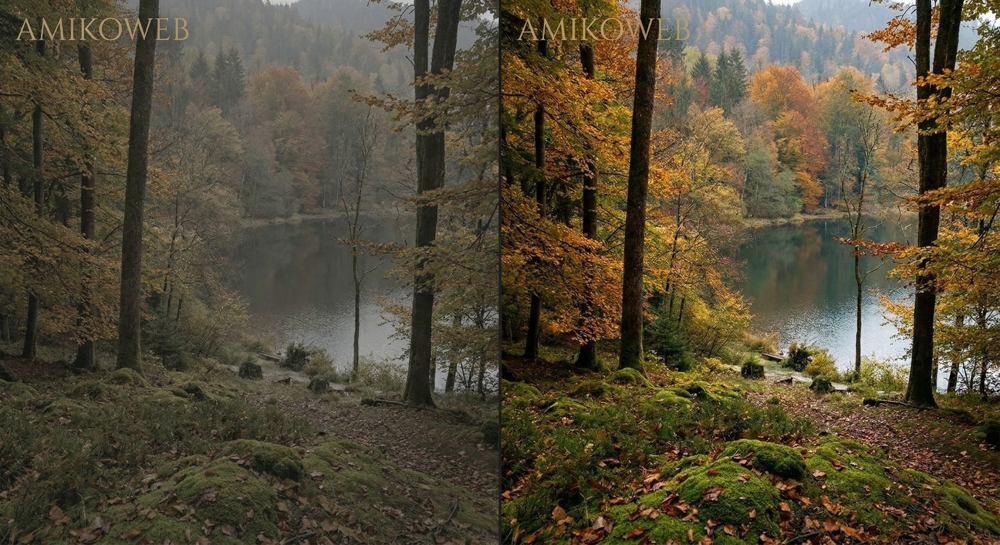
Contrast, Texture, Clarity, Dehaze and Vibrance – in moderation.
The Detail panel, last before exporting.
Export (Ctrl + Shift + E) – choose the size and format to suit where the photo will be used.
Crop and straighten
Press R. Straighten a crooked horizon by pressing Auto or by holding down Ctrl and drawing a line along the horizon. Crop out distracting things at the edges and see whether a tighter crop improves the composition.
Lock the aspect ratio (the padlock icon) if you want to keep the camera's 3:2 format, or choose for example 4:5 for Instagram. Accept the crop with Enter.
Lens corrections, profile and white balance
- Lens Corrections: Tick Enable Profile Corrections and Remove Chromatic Aberration. They remove vignetting, distortion and colour fringing.
- Profile: At the top of the Basic panel. Adobe Color is a good all-round choice, Adobe Landscape gives landscapes a little more life.
- White balance: Take the eyedropper (W) and click a spot that should be neutral grey or white. Fine-tune with the Temp and Tint sliders. In a sunset a warm tone belongs there – don't turn it grey.
Exposure and tones
- Exposure: Adjusts the brightness of the whole photo. First set the overall exposure so that the main subject looks right.
- Highlights: Lower it if the sky or other bright areas are blown out. This brings back the detail in the clouds.
- Shadows: Raise it if the shadows are too dark. Raising it too much makes the photo flat and brings out noise.
- Whites and Blacks: Set the brightest and darkest points of the photo. Hold down Alt while dragging the slider: you see where the photo starts to clip to pure white or black.
Contrast, texture and colour
- Contrast: Adds depth. A small increase (+10…+20) is often enough.
- Texture and Clarity: Texture enhances fine detail, Clarity the contrast in the midtones. A small increase works for landscapes and architecture, while in portraits it is better to soften skin instead.
- Dehaze: Removes haze and brings out the sky. Use it carefully – too high a value makes the photo dark and unnatural.
- Vibrance vs. Saturation: Vibrance boosts only the muted colours and protects skin tones, so it is the safer choice. Saturation boosts all colours equally.
Noise and sharpening
Look at the photo at 100 % zoom (press Z or click the photo), because you can only judge noise and sharpness at full size.
- Denoise: For RAW photos taken in low light or at a high ISO. The AI-based Denoise is clearly better than the old Noise Reduction sliders.
- Sharpening: The default of 40 is a good starting point. Hold down Alt and drag the Masking slider to the right: sharpening is then applied only to edges and not to smooth surfaces like the sky or skin.
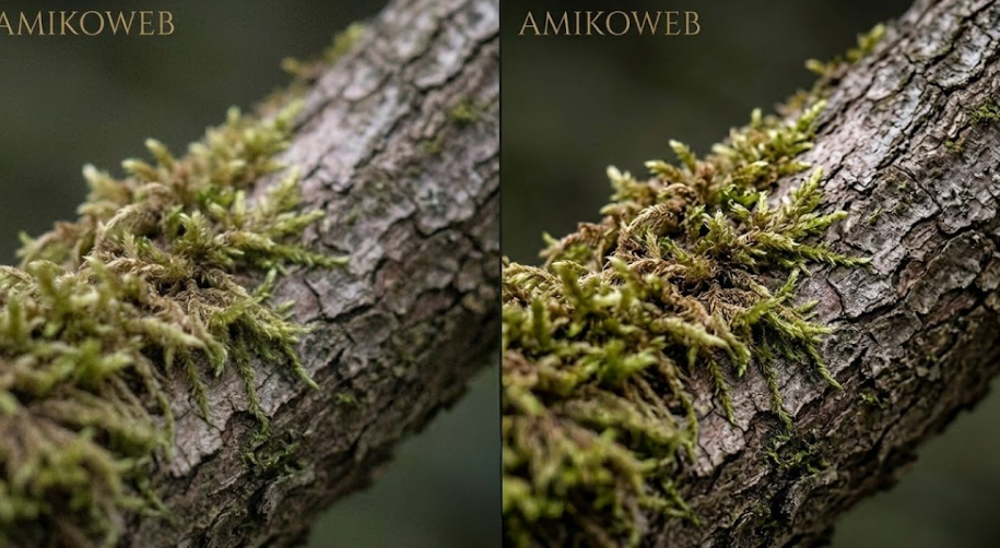
The most useful keyboard shortcuts
| Key | Action |
|---|---|
| G / D | Library grid / Develop view |
| \ | Show the photo before adjustments (press again to return) |
| Y | Before and after side by side |
| R | Crop tool |
| P / X / 1–5 | Flag as pick / reject / give stars |
| Ctrl + Z | Undo the last adjustment |
| Double-click a slider's name | Reset a single adjustment to zero |
| Ctrl + ' | Virtual copy – try another version of the same photo |
Copy settings to a series: When one photo is finished, copy its settings to the other photos taken in the same light by pressing Ctrl + Shift + C and paste them with Ctrl + Shift + V. Then fine-tune each photo if needed.
The most common beginner mistakes
Photo looks over-processed?
Too much Clarity, Dehaze or Shadows makes the photo look "HDR-ish". Compare it with the original using the \ key and halve the adjustments.
Faces orange?
Saturation has been pushed too far. Use Vibrance and if needed lower the orange saturation in the Color Mixer.
Photos have disappeared?
A question mark on a folder means the folder was moved outside Lightroom. Right-click it and choose Find Missing Folder.
Changes don't show in the photo elsewhere?
Lightroom doesn't change the original file. You always have to export the finished photo with Export.
Once the basics are going well, continue with the guides on editing a landscape photo, editing a portrait and AI masks. Exporting the finished photo is covered in the guide Exporting & optimising photos.