GUIDE
Lightroom: Landscapes
In landscape photography the challenge is often the high contrast between the sky and the land. With Lightroom's tools you can bring out the details in the shadows and beautiful tones in sunsets.
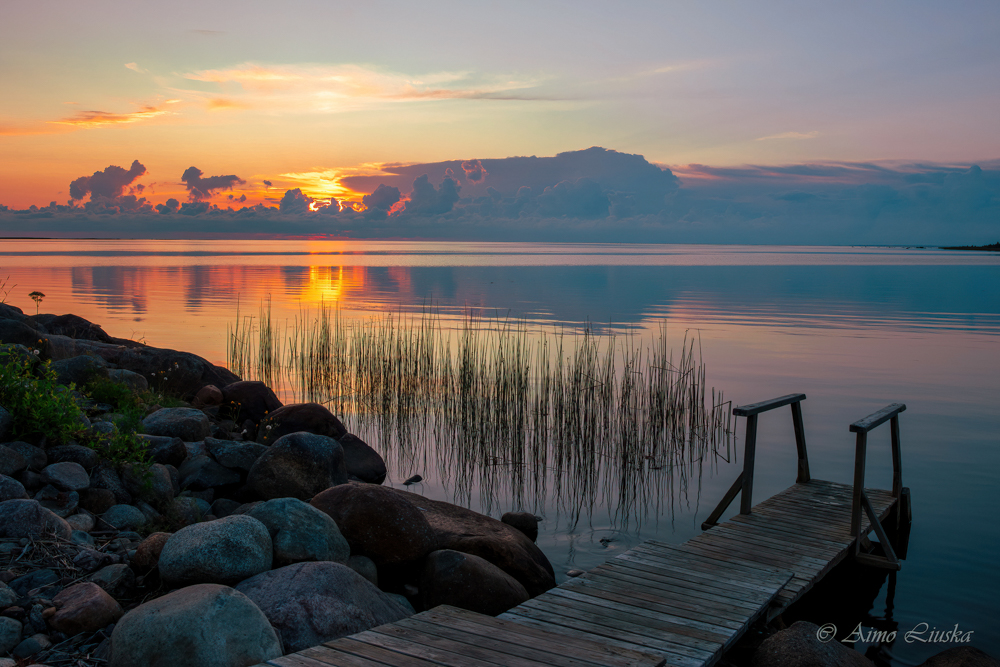
A well-exposed and well-edited landscape photo brings out the fine details of both the sky and the terrain.
WORKFLOW
The editing process step by step
- Controlling the dynamic range: Lower the highlights (Highlights -50…-100) to bring out the details in the clouds. Raise the shadows (Shadows +30…+60) to see the dark shapes and rocks in the foreground.
- Bringing out the sky: Choose Masking > Select Sky. Add a moderate amount of Dehaze (+10…+15) to remove atmospheric haze and raise Clarity to bring out the cloud formations.
- Natural colours (HSL): Go to the Color Mixer. Carefully raise the Saturation of yellow and green. Move the green Hue slider slightly towards yellow or aqua to create natural-looking foliage.
- Creating depth: Drag a Linear Gradient (M) from the bottom upwards. Raise the exposure (+0.2) and sharpness a little in the foreground. This leads the viewer's eye from the foreground towards the horizon.
- Texture locally: Strong Texture on the whole photo also brings out the noise in the sky and makes it grainy. Instead, use the Brush (K) tool to paint more Texture onto rocks, stones or tree trunks to add roughness.
- Lens corrections: Go to the Lens Corrections panel. Tick Remove Chromatic Aberration (removes colour fringing) and Enable Profile Corrections (corrects distortion and corner vignetting).
Pro Tip
Finish the photo in the Calibration panel at the very bottom of the Develop module. Raise the Saturation of the "Blue Primary" channel (+10…+20). It deepens the sky and cleans up the landscape's yellow and green tones remarkably stylishly!
THINGS TO WATCH
Pitfalls of landscape editing
- Dark halos around mountains or trees: Too much Dehaze or Clarity in a sky mask creates an ugly dark or white shadow along the edge between the subject and the sky. Lower the values well down straight away.
- The forest looks radioactive green: Oversaturating the green channel is the most common mistake. Lower the green Saturation and move its Luminance down. This makes the forest look deep, lush and real.
- Opening the shadows brought noise into the ground: If you raise Shadows or Exposure too much in the dark lower part, digital noise appears in the photo. Use the Detail > Noise Reduction slider in a mask on the ground only.