GUIDE
Lightroom: Portraits
A professional workflow: use AI and precise colour control to create stunning portraits.
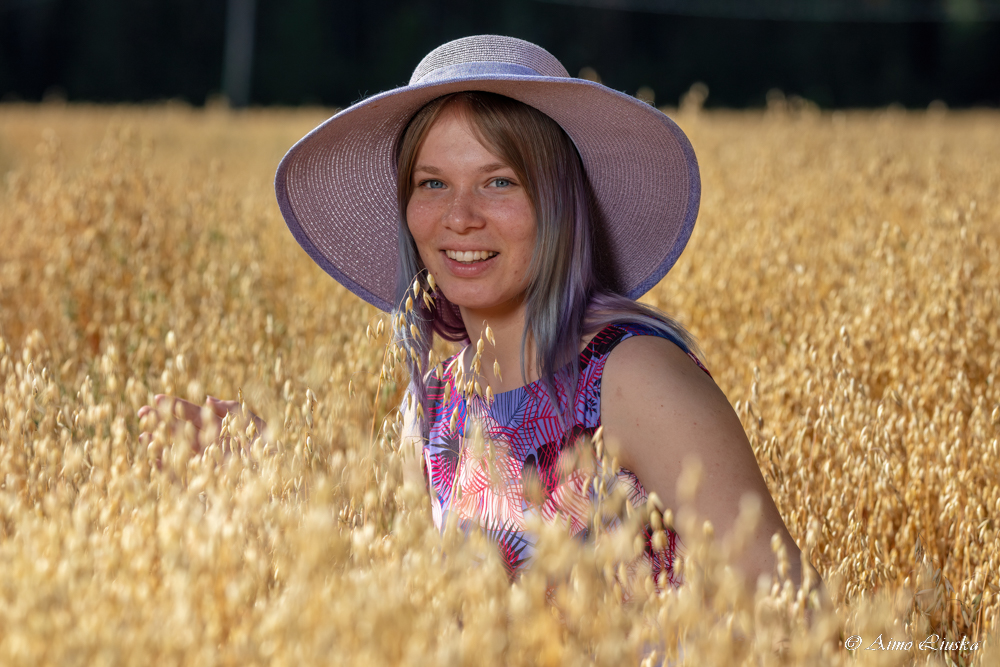
A high-quality portrait needs control of skin tones and separating the subject from the background.
WORKFLOW
Editing a portrait step by step
- Basic adjustments: Set the white balance correctly. Open up the shadows (Shadows +20…+40) and lower the highlights (Highlights -20…-50) to remove skin shine caused by flash or sun.
- Fine-tuning the face: Open Masking (Shift + W) > People and choose the person in the photo. Select the skin (Facial Skin) and lower Texture (-10…-20) and Clarity (-5…-10) to soften the skin while keeping the pores.
- Colours and skin tones: Go to the Color Mixer (HSL) panel. Choose Orange: raise Luminance (+5…+15) to brighten the skin and lower Saturation (-5…-10) to remove the orange cast.
- Softening the background: Create a new mask with Select Background and click Invert if needed. Lower Clarity (-20) and Sharpness (-30). This creates a visually softer and deeper bokeh.
- Shaping the light: Use a Radial Gradient mask on the face. Raise the exposure (Exposure +0.2) to separate the subject. Add a subtle dark Effects > Vignette to guide the eye to the centre.
- Sharpening and masking: Go to the Detail panel. Hold down Alt (Mac: Option) and drag the Masking slider (to 60–80), so the sharpening affects only the eyes and edges, not the skin.
THE KEY MASKS
AI masks in portrait editing
Facial Skin
Lower Texture & Clarity to soften the skin naturally.
Iris & Sclera
Raise exposure and sharpness for the catchlights and the whites of the eyes.
Hair
Raise Texture and Dehaze/Clarity to bring shine and structure to the hair.
Lips
Raise Saturation and a little Red Hue/Luminance to bring out the lips.
Pro Tip
In global adjustments, always prefer the Vibrance slider over Saturation. It raises the intensity of only the muted colours and protects skin tones from turning an unnatural carrot colour.
THINGS TO WATCH
Pitfalls of portrait editing
- The skin turned grey: If you raise the orange channel's Luminance too much (over +25), the skin loses its saturation and looks lifeless. Keep the adjustment moderate and correct the tone with the Red/Orange Hue slider.
- Red ears and neck: Blood circulation often makes the ears redder than the face. Create a local mask (Brush) for the ears and lower Saturation or turn the Hue slider slightly towards yellow.
- Teeth whitening went wrong: Never just raise the exposure (Exposure), because it makes teeth glow unnaturally. Select the teeth with AI, lower Saturation (-20) and carefully raise Whites.