PHOTOSHOP: PORTRAIT RETOUCHING
A professional's workflow: the skin pores stay, the face gets depth and the result looks natural – not plastic.
NATURAL RETOUCHING
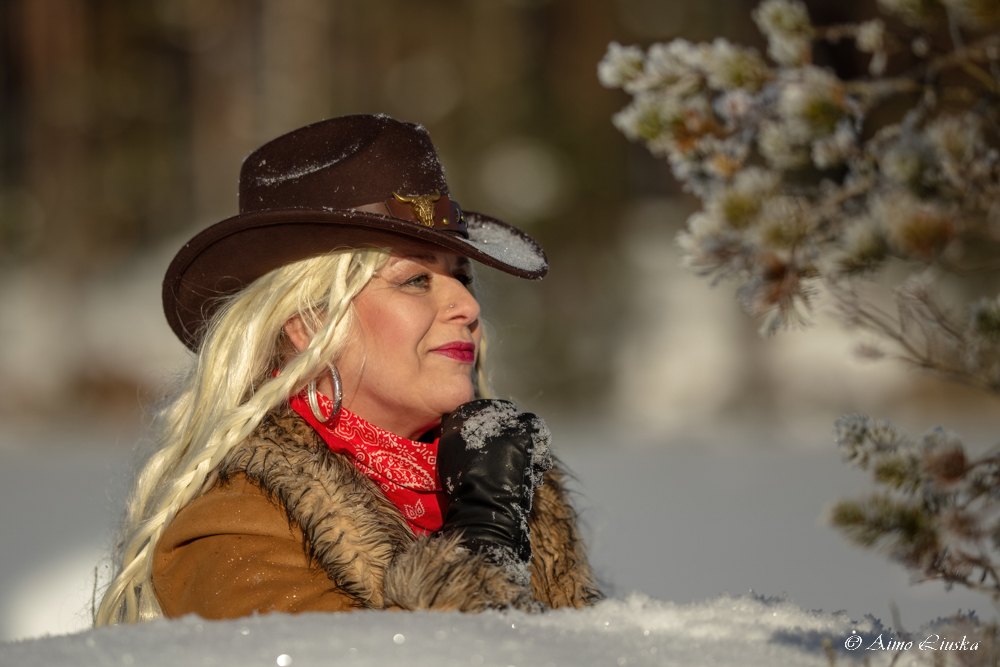
Do everything on separate layers: Never edit the original background layer. When every step is its own layer, you can tone down a correction that's too strong with the Opacity slider or delete it completely.
SIX STEPS TO A FINISHED PORTRAIT
Cleaning the skin
Create a new empty layer and choose the Spot Healing Brush, Remove Tool or Clone Stamp with the Sample All Layers setting. Remove spots, stray hairs and specks in short strokes. Permanent features, such as moles and scars, are usually left in place.
Frequency Separation
Separate the skin tones and the texture onto two layers. By blurring the lower layer you even out blotchy skin, and the upper layer keeps the pores. More detailed instructions below.
Dodge & Burn
Create a new layer, fill it with 50 % grey and set the blend mode to Soft Light. Paint with a soft brush (Flow 2–5 %), white to lighten and black to darken. Bring out the cheekbones, the bridge of the nose and the jawline – it gives the face shape.
Bringing out the eyes
Add a Curves adjustment layer, raise the midtones a little and paint only the irises into the mask. Clean up redness in the whites of the eyes with a Hue/Saturation layer. Don't whiten the whites to bright white – it immediately looks artificial.
Sharpening
Merge the visible layers into a new layer (Ctrl+Alt+Shift+E), choose Filter → Other → High Pass at 1–2 px and set the blend mode to Overlay. Add a black mask and paint the sharpness only onto the eyes, lashes, eyebrows and lips.
Colours and finishing
Balance the skin tone with a Color Balance or Selective Color layer (reds and yellows). Finally add a light vignette and check the contrast. Look at the photo again after a while – the eye gets used to changes quickly.
FREQUENCY SEPARATION STEP BY STEP
- 1. Two copies: duplicate the background layer twice. Name the lower one "Tones" and the upper one "Texture".
- 2. Blur the tone layer: hide the Texture layer and apply Gaussian Blur to the Tones layer. Set the radius just large enough for the pores to disappear (typically 4–8 px).
- 3. Separate the texture: select the Texture layer and choose Image → Apply Image: layer "Tones", blending Subtract, Scale 2, Offset 128 (8-bit image). In a 16-bit image: blending Add, Invert on, Scale 2, Offset 0.
- 4. Blend mode: set the Texture layer's blend mode to Linear Light. The photo looks exactly like the original again.
- 5. Even out the tones: paint on the Tones layer with the Mixer Brush, or select areas with the Lasso tool and blur them. The texture stays untouched.
AI TO HELP
- Remove Tool: removes distracting objects and skin blemishes with one stroke.
- Neural Filters → Skin Smoothing: quick smoothing. Keep the strength moderate and use it on a separate layer.
- Select Subject / Sky: ready-made masks for editing the background and the person separately.
- More about AI tools: Photoshop AI tools.
AVOID THESE
- Plastic skin: too much blur removes the pores. Skin should show texture.
- Glowing eyes: irises and whites that are too bright give the retouching away straight away.
- Changing shapes: reshaping the face or body with the Liquify tool turns the person into someone else. Ask the person in the photo what they want.
- Oversaturated colours: skin easily turns orange. Check the amount of red and yellow.
Read also: Photoshop retouching & photo fixes, Photoshop sharpness and Lightroom portraits.