Photo editing: before and after
What does photo editing actually do? Drag the slider and compare a flat photo with the finished one. Then try exposure, contrast, colours and temperature yourself on my own photos from South Ostrobothnia.
Drag across the photo
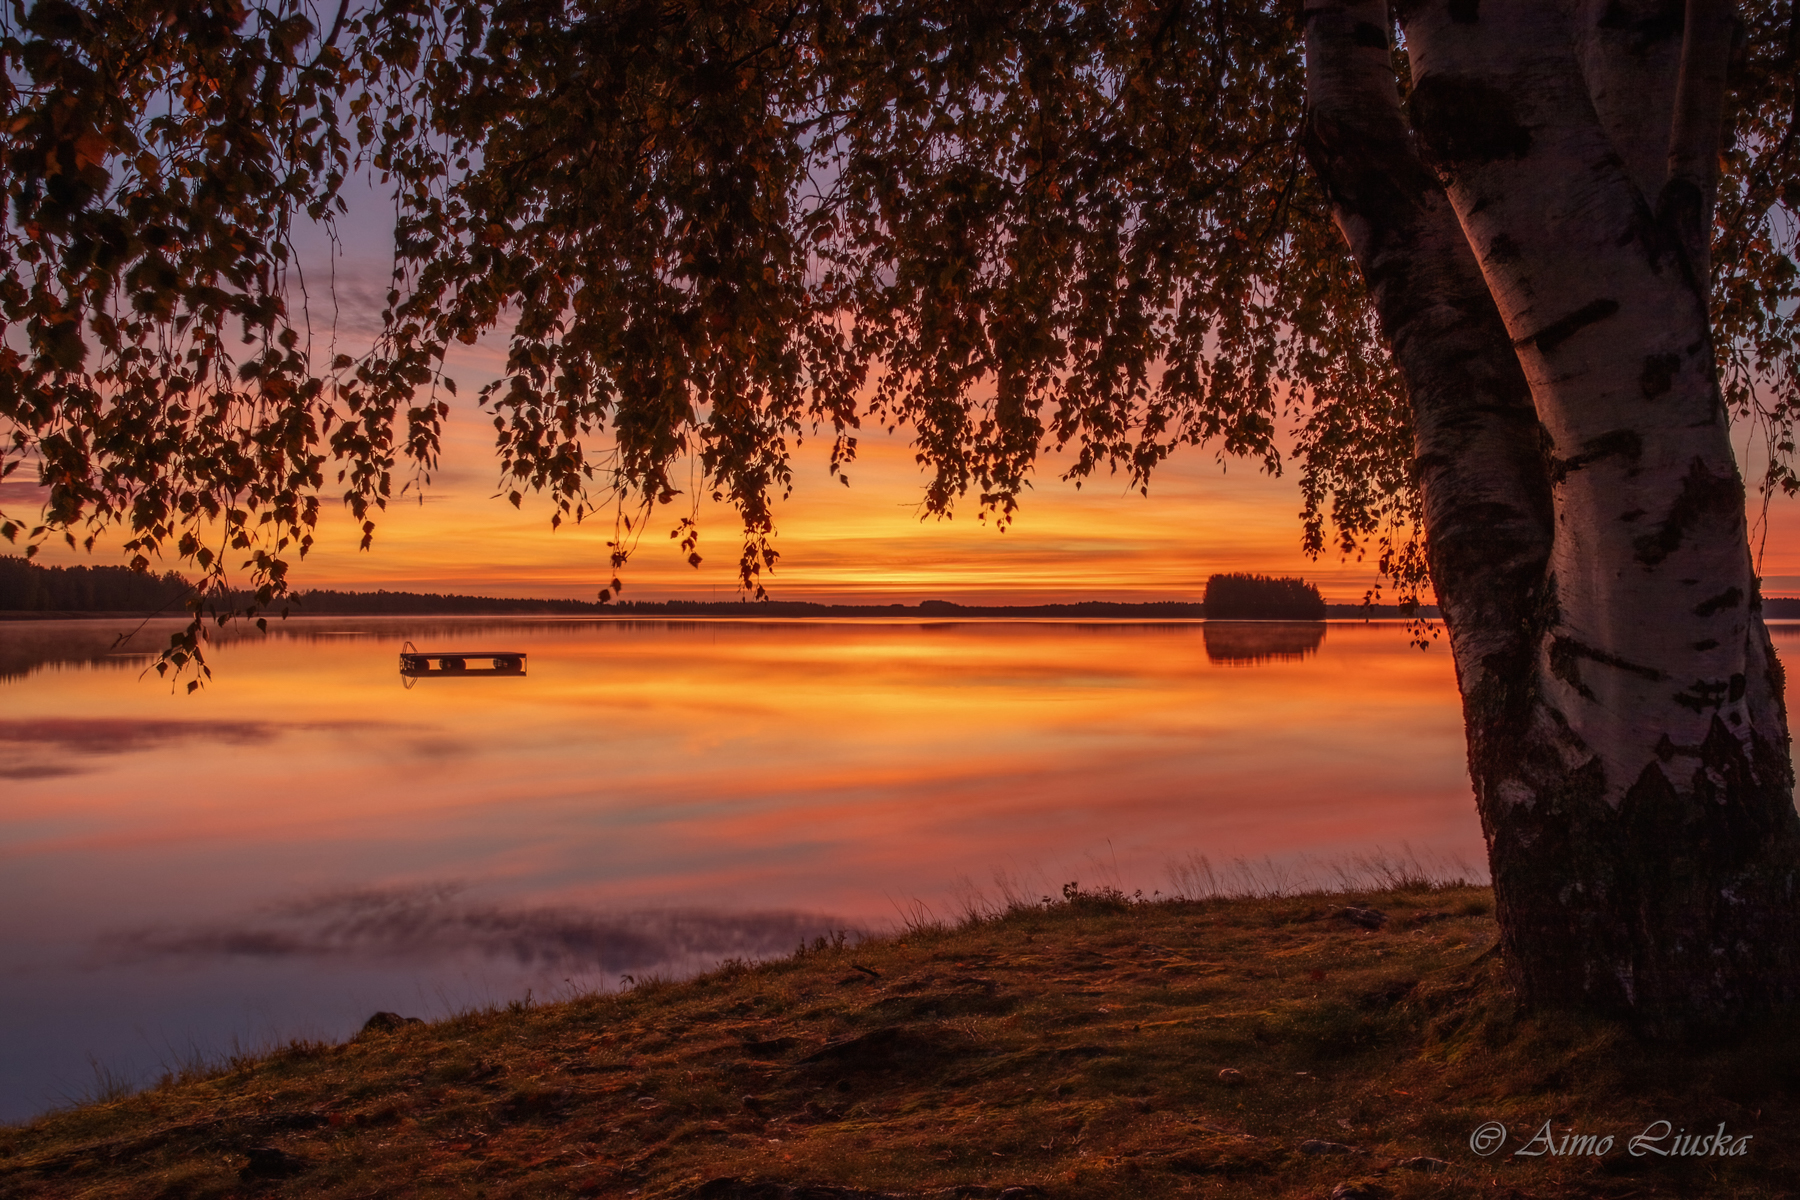
The "before" photo is an illustration. It was made by flattening the finished photo to look like an unedited RAW photo usually does: grey, low contrast and muted colours. The camera does nothing to a RAW photo – the tones and colours are finished in editing.
Adjust the photo yourself
The order of editing
Crop and straighten
First straighten the horizon and crop off unnecessary edges. Then all the following adjustments are made to the final photo.
White balance
Correct the colour cast: snow white and greys grey. After that, adjust the mood warmer or cooler.
Exposure and tones
First adjust the brightness of the whole photo. Then raise the shadows and lower the bright areas (Highlights), so the sky and the dark areas balance out.
Contrast and colours
Add contrast and saturation in moderation. A good rule of thumb: adjust until the photo looks good, then back off a little.
Local adjustments
Darken the sky with a gradient mask or lighten faces. AI masks select the sky or the subject with one click.
Sharpening, noise and export
Sharpen and remove noise last. Then export the photo at the right size for its use.
The most common editing mistakes
Read more: Lightroom basics, Developing RAW photos and Editing landscape photos.