GIMP made easy
Free photo editing for beginners – learn the most important tools quickly and easily without expensive software.
1. The most important parts of the interface
GIMP can look complicated at first, but the most important parts are easy to find. The tools are on the left, the image you are editing is in the middle, and the layers and settings are on the right.
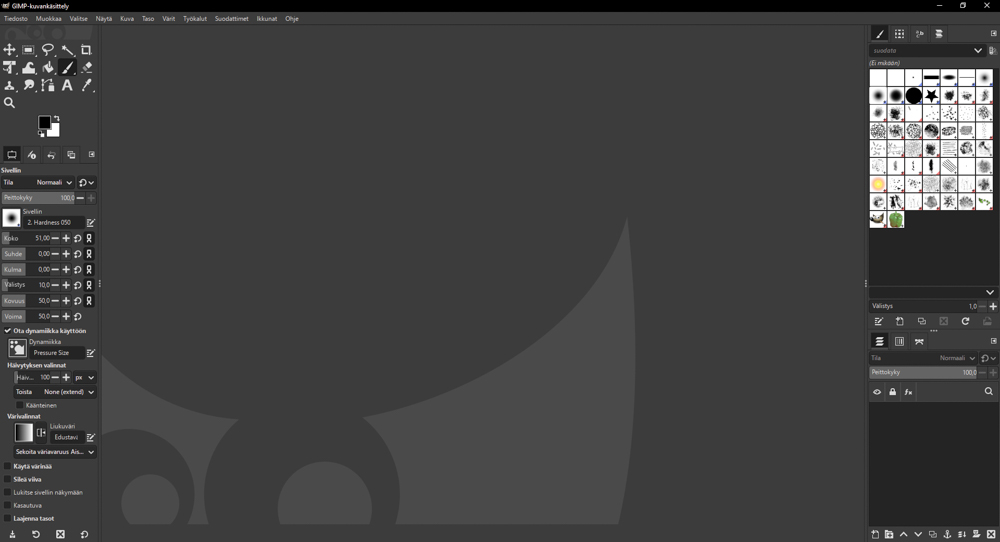
- Toolbox: The most important tools on the left.
- Layers: Layer management on the right.
- Canvas: The image itself is in the middle.
2. Cropping a photo
Cropping removes unnecessary parts of the photo and improves the composition a lot.
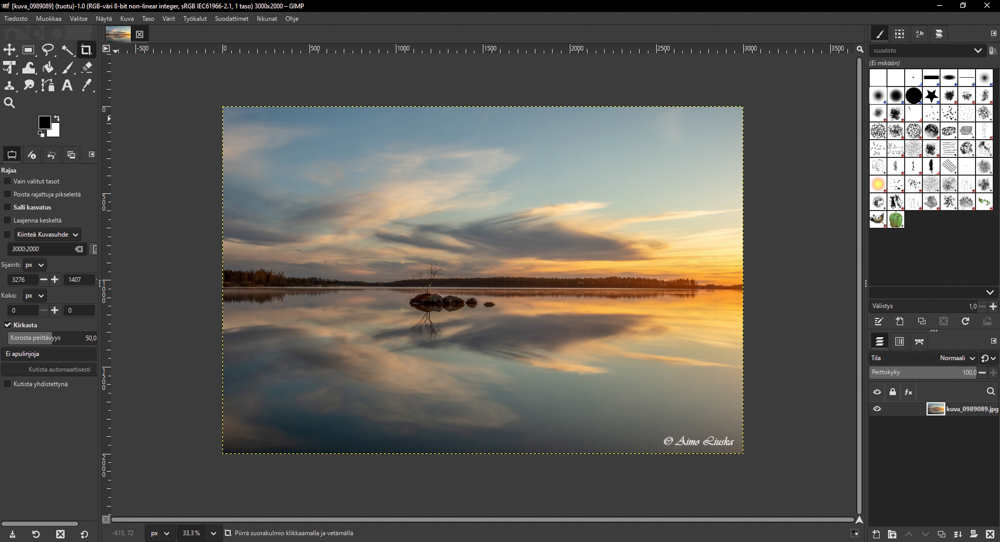
- Choose the Crop Tool from the toolbox.
- Drag the area you want over the photo with the mouse.
- Press Enter to accept the new crop.
3. Brightness and contrast
Improve the look of the photo by adjusting the brightness and contrast, which brings out the details.
Colors → Brightness-Contrast
Add brightness in moderation and use contrast to give the photo depth.
4. Correcting colours
Natural, clean colours make a photo look more professional and more pleasant to look at.
- Colors → Levels: Helps you set the dark and light ends using the histogram.
- Colors → Curves: Gives the most precise control over the different tonal ranges of the photo.
5. Adding text
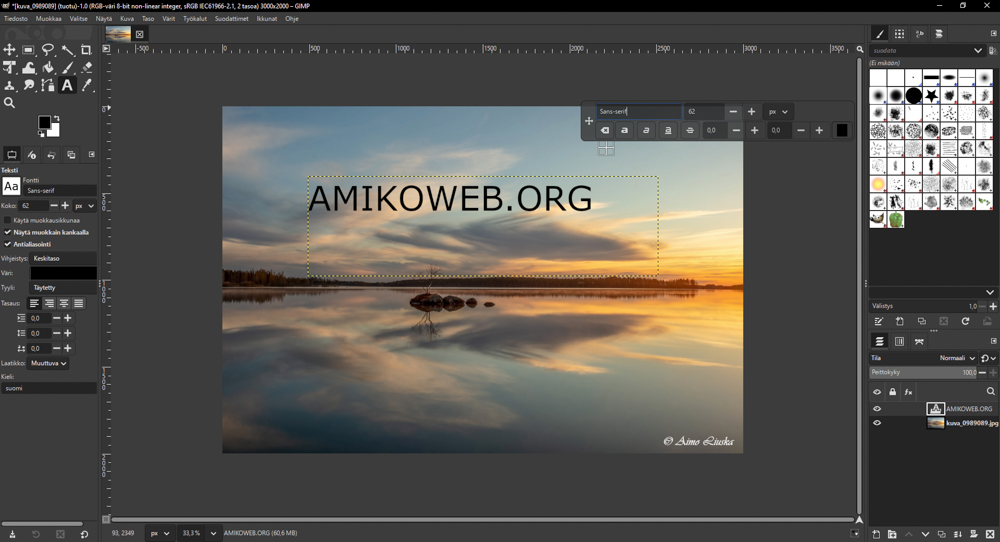
You can easily add text, such as titles or watermarks, to a photo with the Text Tool.
6. Saving a photo for the web
When your work is finished, it has to be exported in the right format for use online.
File → Export As → choose the JPEG extension.
Quality: 80–90 %
This setting keeps the quality but the file size small.
A tip for beginners
First practise all these steps on one photo. Once you can handle cropping, light and colour, you are already well on your way with GIMP!
"Great photos don't need expensive software – with skill, even free tools can produce masterpieces."